Tuesday Take-n-Makes are Back!

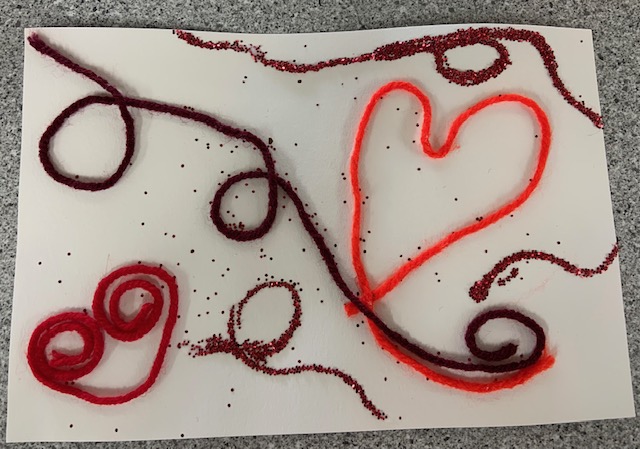
Hearts String Art

For this week’s craft, we will be making heart collages with string and glitter. All you will need is liquid glue! Arrange your string on your paper, making heart shapes. Then glue it down. Use your glue to gently draw designs where you would like glitter. Let it dry and hang it up, or give to someone you love!

Tuesday Take-n-Makes are put out every Tuesday by 1pm. They are first come, first serve, so once they are gone, they are gone. You can find the Take-n-Makes out front of the library in the brown bin closest to our book return!

Gingerbread Craft

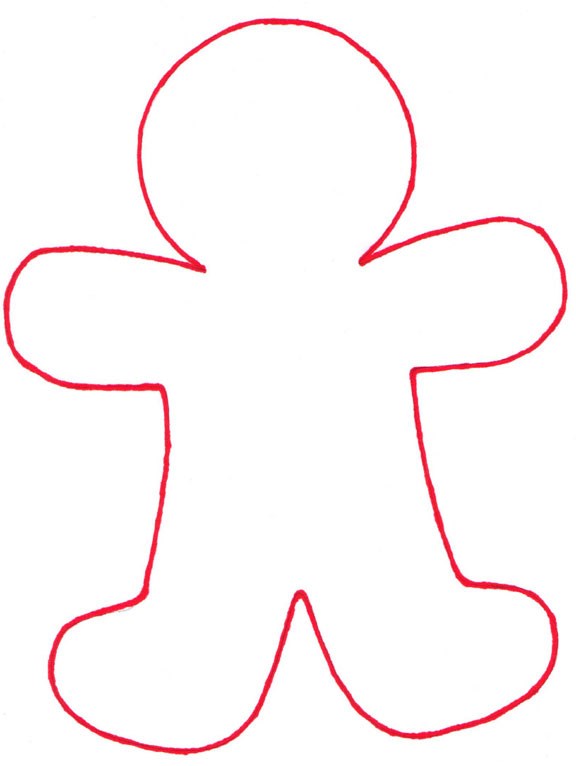
You will need crayons or markers, a scissor, glue, and various decorations like buttons, craft paper, pipe cleaners, etc. Whatever you would like to decorate your gingerbread with.

Here is the template. Cut out your gingerbread either on brown paper or just color it. Then start decorating. You can also design a house with a brown paper bag or just draw one!

Penguin Craft

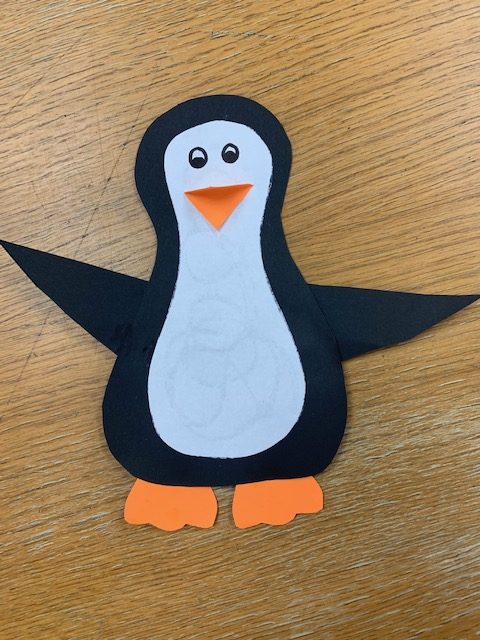
For this craft you will need scissors, glue, white, black, and orange construction paper, and a marker.

Start by cutting out your shapes. Use the black construction paper to cut the wings and body. Then cut out a smaller body in white. Use the orange for feet and a beak. Glue your penguin together and lastly, draw on the eyes.

Braided Pipe Cleaner Bracelet

You will need 3 pipe cleaners and 5 beads that have a big enough hole for a pipe cleaner to fit through.

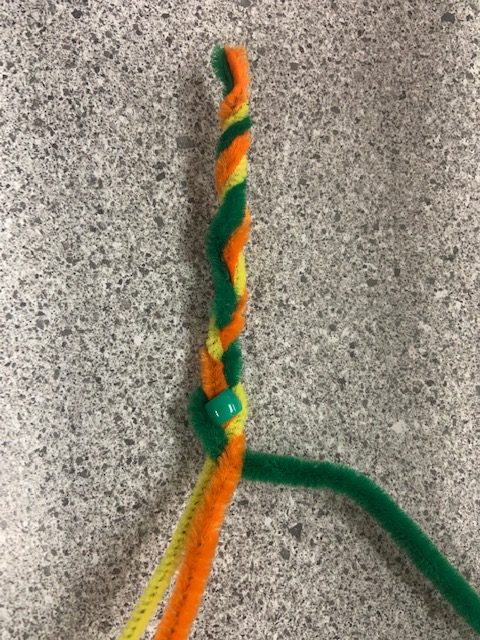
Begin by lining up the ends of the pipe cleaners and twist them together several times, until about 1 inch of the pipe cleaners are twisted.

Braid the pipe cleaners until 2.5 inches are braided. Add a bead to the pipe cleaner in the middle, pushing it down against the braiding. Continue braiding around it, again until that beaded strand is in the middle again.

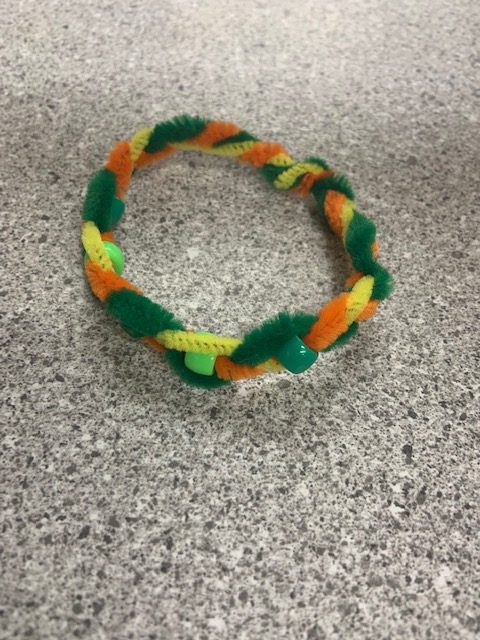
Repeat these steps for adding the third, fourth, and fifth beads. (There may be a few extra included.) After adding the fifth bead, braid another 2.5 inches. Twist the rest of the pipe cleaner ends together, just like at the start. Cross the ends of the bracelet over each other. Keeping the ends pinched together, slide it onto your wrist to make sure it will fit. Twist the ends of the pipe cleaners together, closing off the bracelet.

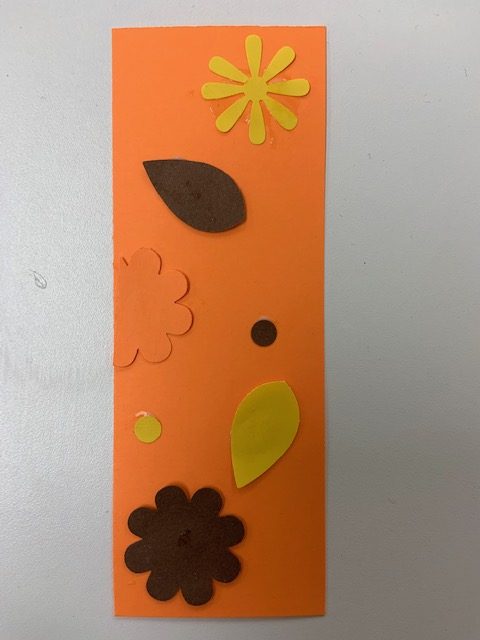
Bookmarks

For this craft you will need colored paper, glue, and any other decorative additions like glitter or markers.

Cut a bookmark sized piece of paper. Then cut out different shapes and decorate it however you wish. We used paper scraps with a leaf punch for ours.

Crayon Transfer Craft

You will need crayons, a pencil, and white paper for this craft.

Start by coloring one side of your paper either in patterns or blobs, however you wish, just as long as you press hard and cover the whole area in crayon. The picture below shows an example of this started.

Lay your pattern face-down on top of another blank sheet of paper. On the back, draw a design in pencil. ( You can see the colors from step one on the back side of this page below)

Lift up your paper and check out your design! You will see that your pencil drawing transferred to the other page in the colors you drew. So it will look rainbow-like.

Have fun experimenting.

Hot Cocoa Craft

For this craft, you will need a scissor, glue (hot glue may be needed just to glue the cup to the plate, otherwise liquid is fine), a paper plate ,a paper cup, some cotton, brown paper, and colored paper for a handle.

Begin by gluing the side of your paper cup to your paper plate. This is your cocoa mug. You will then cut a handle out of the colored paper and glue it next to your cup. Next, take some brown paper and scrunch it up, sticking it inside the cup. This is your “cocoa” Glue the cotton above to create the “steam”. Decorate the plate and cup however you wish to add the final details.

Ghosts

For this craft you will need a black marker, string, scissors, a white paper or foam cup, a pencil or something to poke a hole in your cup, white paper or streamers, and glue.

Poke a small hole in the top of your cup. Take your string and fold it in half. Thread the ends through the hole, so the loop is above, and tie the ends in a big knot (you may have to double knot it). Then decorate your cup by drawing a face. To add streamers, cut your paper into strips and glue them around the base of the cup. Enjoy!

Paper Strip Pumpkins

For this craft you will need 3 large orange paper strips, 1 green small paper strip, scissors, tape, and a black marker.

First take two orange strips of paper and make each one into a tube. Use tape to tape the ends.

Then, draw a face on the middle of the last strip of orange paper. Thread it through the tubes and secure with tape in the back. (You may need to adjust the tubes).

Next, take your green strip and create a stem, as the picture shows. You can tape it into the top of the pumpkin, wedging the ends down between the two tubes. If you would like to trim it smaller, this would be the only need for a scissor!

Enjoy your pumpkin!!