Pipe Cleaner Trees

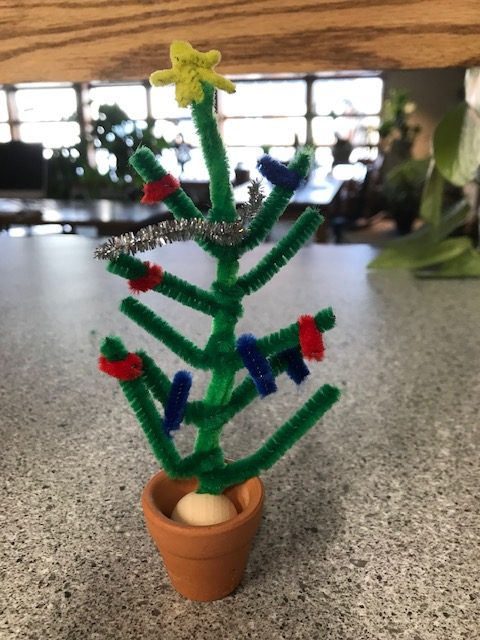
For this craft, you will need a small clay pot, a wooden bead, and an assortment of pipe cleaners, with at least 3 being green. You will also need liquid glue and scissors.

To make your tree, take one green pipe cleaner and fold it in half. Twist it together. Stick the two ends into your bead so they come out the other side of the hole. Bend the ends to secure. Create the tree branches by cutting up smaller pieces of green pipe cleaner and twisting them onto the main one. Adjust as you go so they look the way you want. Once you are happy with that, use the rest of the pipe cleaners to create the “ornaments”. Just cut them up into small pieces and bend them onto the branches. You could even fold a star with the yellow one and hook it onto the top with another small piece of yellow pipe cleaner. Then glue your bead into the pot and let dry. Feel free to paint your pot and bead if you’d like to further decorate!

Snails!

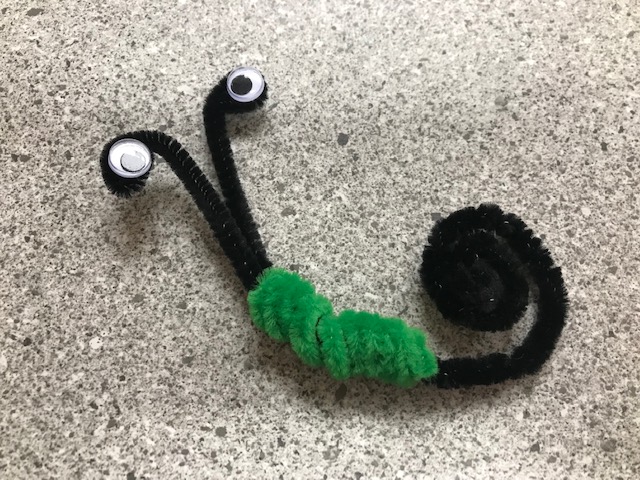
These snails are just made out of 3 pipe cleaners and two googly-eyes. The only other thing you will need is glue if your googly eyes aren’t the sticker kind, and a pencil or something similar for wrapping.

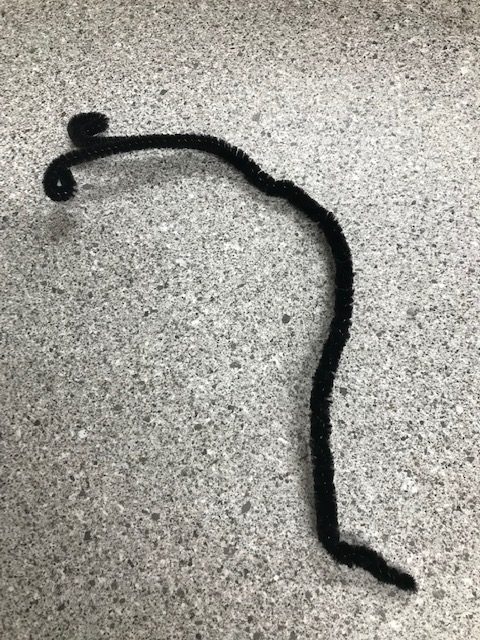
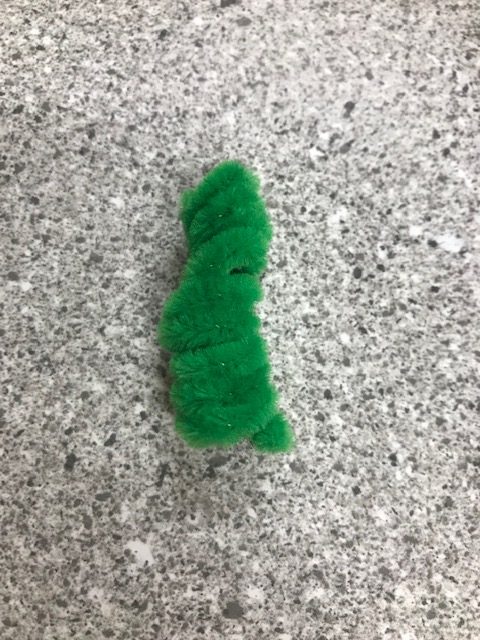
Take two pipe cleaners of the same color and twist them together starting about ¼ of the way down and twisting to the end. The end that is not twisted and has two ends, is the antennae. Take each antennae and curl them down, then stick or glue a googly-eye on each. Take a third pipe cleaner and coil it around a pencil. Pull the coil off, and thread the tail end of the twisted pipe cleaners through. Pull/push the coil all the way to the end where your antennae begin. Once that is in place, roll up the tail end of the twisted pipe cleaners to make the shell shape.

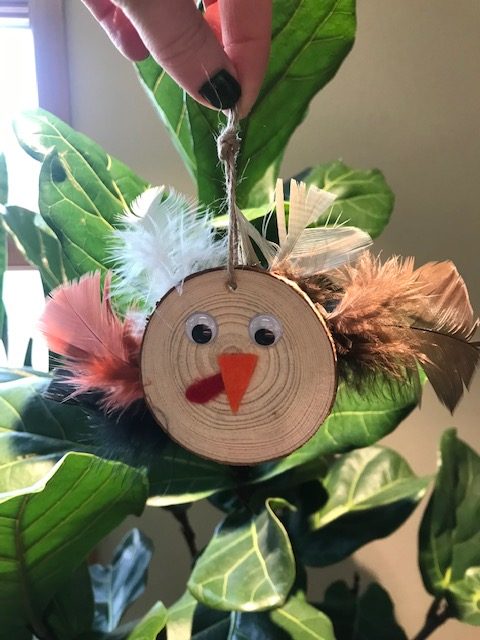
Wood-Slice Turkeys

What you will Need:

1 wood slice with a hole for string

1 string

2 googly eyes

1 piece of orange felt

1 piece of red felt

An assortment of feathers

Liquid or hot glue, scissors

Directions:

First, tie your string through the hole to make your turkey into an ornament. Then glue the feathers on the back and cut out a beak and wattle. Glue the eyes, beak, and wattle on the front. Enjoy your turkey!!

Take-n-Make crafts are put out front in the bin every Tuesday morning by 11:30 am.

Paper Bag Tree

For this craft you will need glue and scissors.

Take everything out of your paper bag and close it. Hold it closed so that the open end is towards you. Then cut straight lines into the bag, almost all the way to the bottom, leaving some space. Make the cuts all the way to the end. Next, open the bag and twist the base of the bag to create the trunk. Flatten the bottom down to create a solid base for it to stand. Take a few cut pieces and twist them together to create a branch. Do this with the rest. Then glue on your paper leaves.  

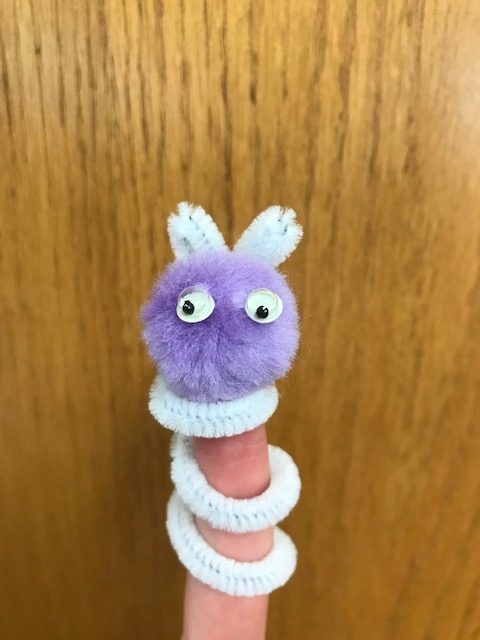
Finger Puppets

All you will need for this craft is a pompom, googly eyes, a pipe cleaner, and liquid or hot glue. If using liquid, be sure to let your puppets totally dry before using.

Take your pipe cleaner and twist it around your finger to create a spiral. Leave enough at the top to create ears. Bend the pipe cleaner to create the ears and then glue your pompom on for the head. Just add eyes, and let dry.

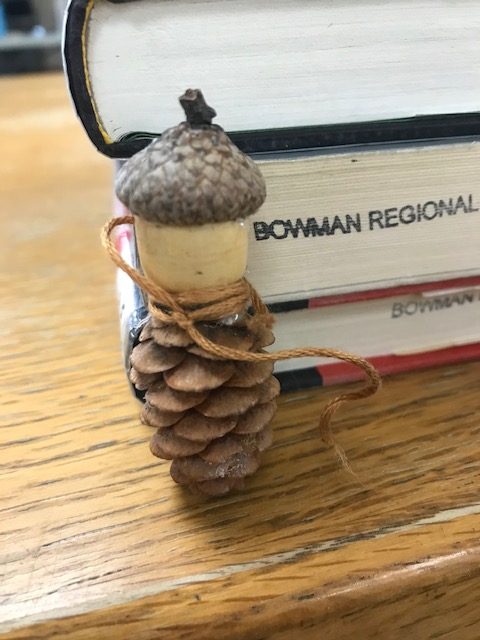
Nature People Craft

You will need an acorn top, a wooden bead, a small pinecone, hot glue, and some string or yarn. Glue the bead to the acorn top to make the hat. The bead will be the head. Then glue the body, or pinecone, onto the bead. Once dry, it is ready to decorate! You can wrap the string to make a scarf, take a marker and draw on a face, or decorate in any way you would like! Print out the template below to decorate and put together a house for your person. Or make one out of an old box, toilet paper roll, etc. Let your creativity run wild!

Coffee Filter Bats

This week we are making coffee filter bats!  All you will need is a scissors, liquid glue, washable markers, a coffee filter, clothespin, jewels, and eyes. ( You could also draw the eyes on with a marker)

First you will color your filter and either spray or dunk it in water to let the colors mix. Let the filter dry. Once it is dry, fold the filter in half, and then half again. Cut the edges curved to make bat wings. Open it up so it is just folded in half again. Pinch it with your clothespin. Then glue jewels onto the top of the clothespin. Glue the eyes on the top jewel to make the face!

Enjoy your colorful bat!

Ghost Straw Art

All you will need is a black marker, a black piece of heavy paper (cardstock, construction paper, or tag board), white paint, and a straw!

First you will take the white paint and dab it onto your black board. Take the straw and angle it towards one side of the paint dot. Blow through the straw, making the paint move downward. You can control the direction of the paint by moving the straw. Keep the straw straight to create a long ghost. Move the straw slightly back and forth to create a wider, flared ghost. However, keep the straw angled on one side of the paint dot.

Then let your paint dry. Once dry, decide which direction of each blob you want to be the head. Once decided, take your black marker and draw faces on your ghosts!

Enjoy!

Baked Cotton Ball Sensory Play

Cozy up during this cold week and enjoy a sensory craft.

You will need a few items:

-Cotton balls

-Flour and water in a 1 to 1 ratio (ex: 1 cup flour, 1 cup water) You may use gluten free flour if you wish!

-Cinnamon, pumpkin pie, or any other fall spice mix if you wish to make this a scented craft

-Paint or food coloring: You may use water colors, acrylic, tempera, or food coloring

-A lined cookie sheet

-Something to break the cotton balls when done

-An oven

Mix up your flour and water, and add a small amount of the spices if using those. Divide and add different colors of paint or food coloring if you choose to color them. A little goes a long way! You do not need much. Dip each cotton ball in the mixture and put on the lined cookie sheet. You can place them individually, or together if you want to make something like a pumpkin.

Bake in the oven at 325 for about 30 minutes. Check on them occasionally to see if they are turning brown.

Remove from oven and be sure to let cool, they will be hot! Enjoy smashing them!

Changing Leaves Tree

Welcome back to our weekly Tuesday craft! Follow along here on the blog with your own supplies, or grab a kit from the take-n-make bin! We took a short break for a few weeks but are now back at it with our weekly crafts! This week’s project is inspired by the beginning of autumn as the leaves start changing.

Our take-n-make kit included green and yellow paint to represent the changing of the leaves and a printout of a tree silhouette on cardstock paper. So if you are following along on your own, I’ve attached a tree printout here: Feel free to find a different one if you’d like and then gather up any fall colored paints you want to use.

You will then drip your paint onto the tree, keeping it up in the branches rather than lower on the trunk. When you are happy with the placement, fold the tree in half. Press to spread the paint up to create the leaves, once again, trying not to go down too far onto the trunk. When you open the paper you will have a beautiful tree! Let it dry.