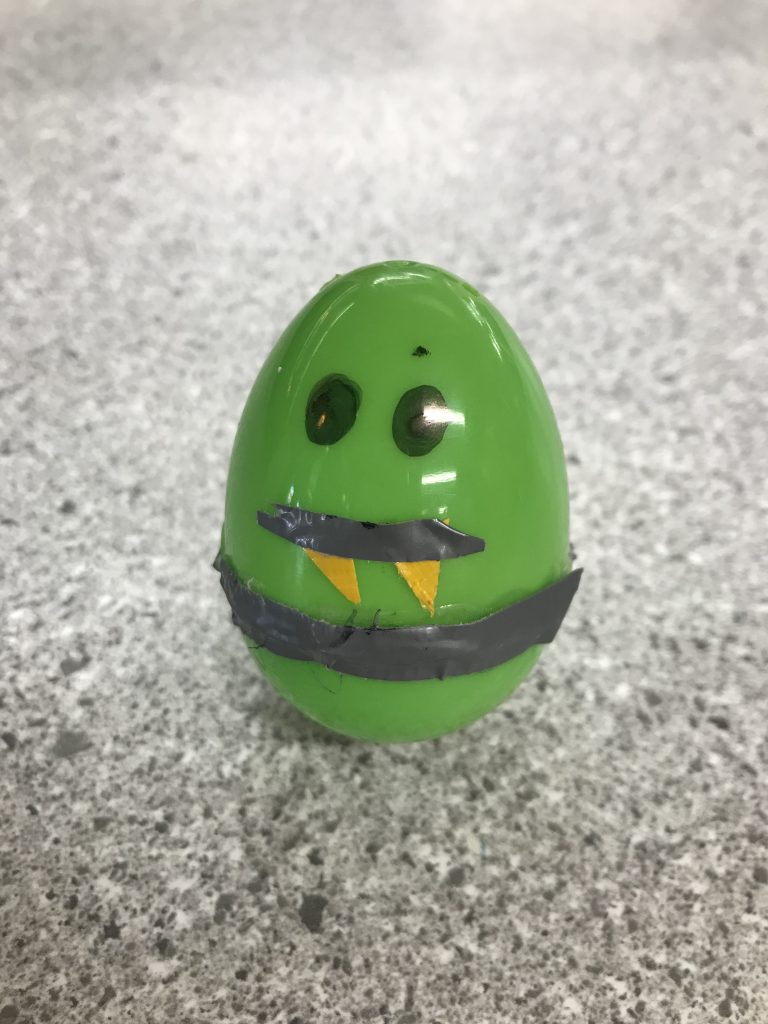
This craft includes a plastic egg hot glued shut, various pieces of tape, and googly eyes. If you did not pick up a craft kit and are doing it on your own you will need a plastic egg and something heavy in the bottom. To make it easier, we just smooshed non drying modeling clay in the bottom and hot glued the egg shut. You will also need a permanent marker, duct tape, liquid glue, and any other decorative items.
Decorate your egg however you wish. Some ideas are a ninja, a monster, or an animal! To use the tape, just cut it to size and peel the wax paper off the back.
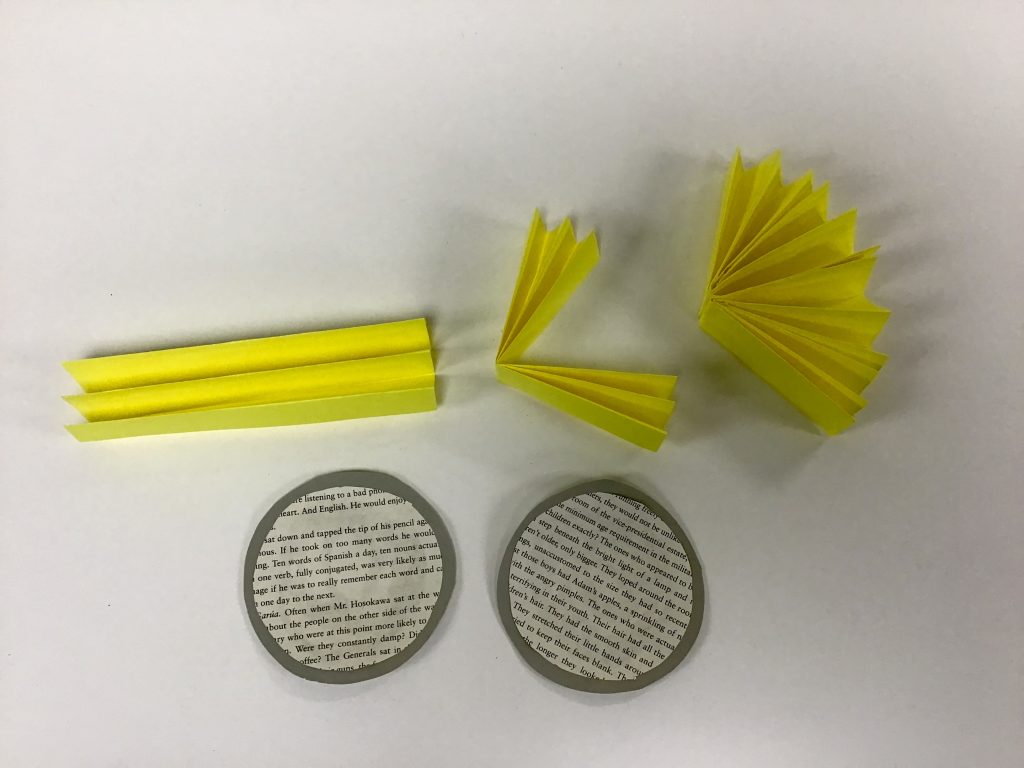
For this craft we are using 5 squares of paper… 4 are yellow or orange, and 1 is brown or grey. We are also using a page from an old book and a chopstick. You will also need a pencil, something round to trace a circle, and liquid glue. Begin by accordion folding each yellow/orange square of paper. Keep it folded and then fold in half. Just like the picture shows the stages:
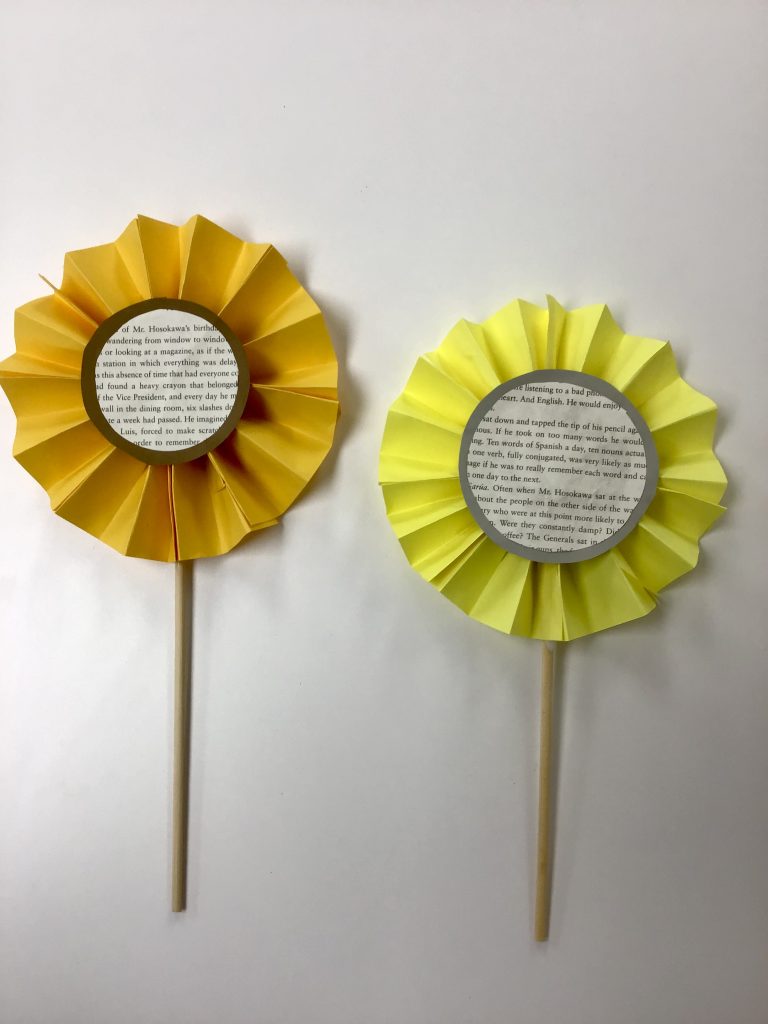
Glue them together to create the flower. (So glue them in half, then to each other) You may have to add a bit more glue in the center, you will notice where it is floppy but adding our flower center will also help with that. Then take your book page and fold it in half. Find a circle object and trace the circle so it fits within that. Cut it out and you now have two circles for the center of your flower. Glue the circles onto the brown or grey paper and cut around them to leave a colored border. This will be the center of your flower. Glue it onto the center and you have a sunflower! Take your chopstick and stick it up far enough into one of the folds and add glue before pressing shut, hold for a few seconds and let it dry. This is the stem.
This week we will be focusing on color with a paint chip scavenger hunt. You will need paint chips of different colors. We used 10. Then punch holes in the paint chips at the top corner, so you can thread a string through and tie it in a knot. Then all your paint chips will be together and ready for the hunt. You could also just put a binder ring through the holes if you have one.
Next, either cut a shape out of the center of each paint chip, or use a bigger punch. Then you will take your paint chips and try to find objects that match each color. I found a book with writing that has the same shade as below. The bigger shape you cut out of the center allows you to match colors easier by just holding it over the object and comparing to the paint chip.
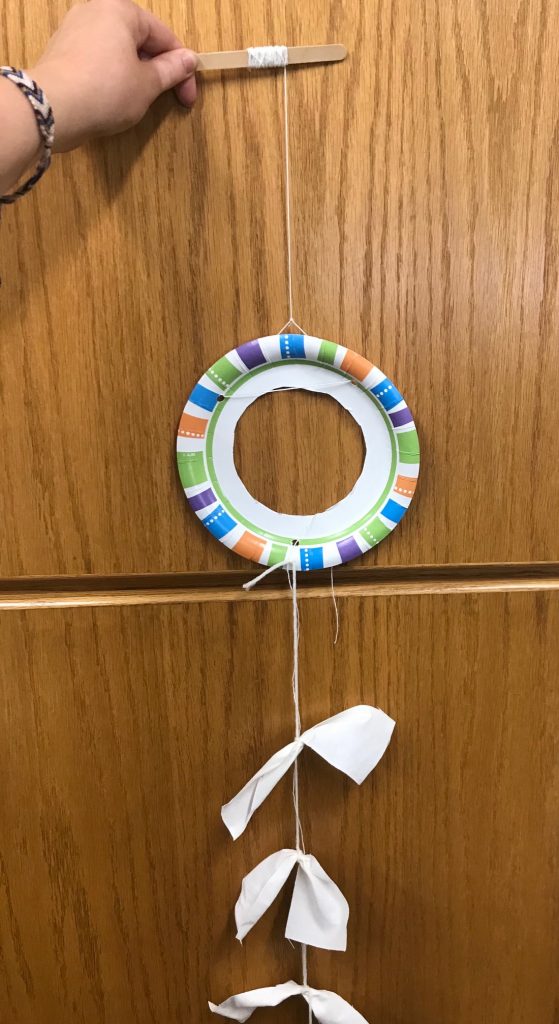
You will need a paper plate with three holes punched, cloth scraps, yarn, and a popsicle stick with a long string tied to it ( can use yarn or something thinner). First, take something round and trace a circle with it in the center of the plate. Cut the circle out. Punch the holes in a triangle formation, two across from each other on one side of plate, and one on bottom in the middle distance of those two on the top. See picture below. Then you may decorate the plate.
Next, take a thin string that is tied to a popsicle stick and thread it through the top two punched holes and tie off. It should also make a triangle shape, refer to the picture below to see how it is tied. Then, cut your cloth scraps into small strips. If you would like to color them, you can do that! You will tie them in the center with your yarn so you have a string of yarn with the scraps tied on, like the picture below!
Then you will tie one end of the yarn to the last punched hole in your plate. This is the kite tail. Take your kite outside and fly it by holding the popsicle stick and unwinding some of the string as you move with your kite!
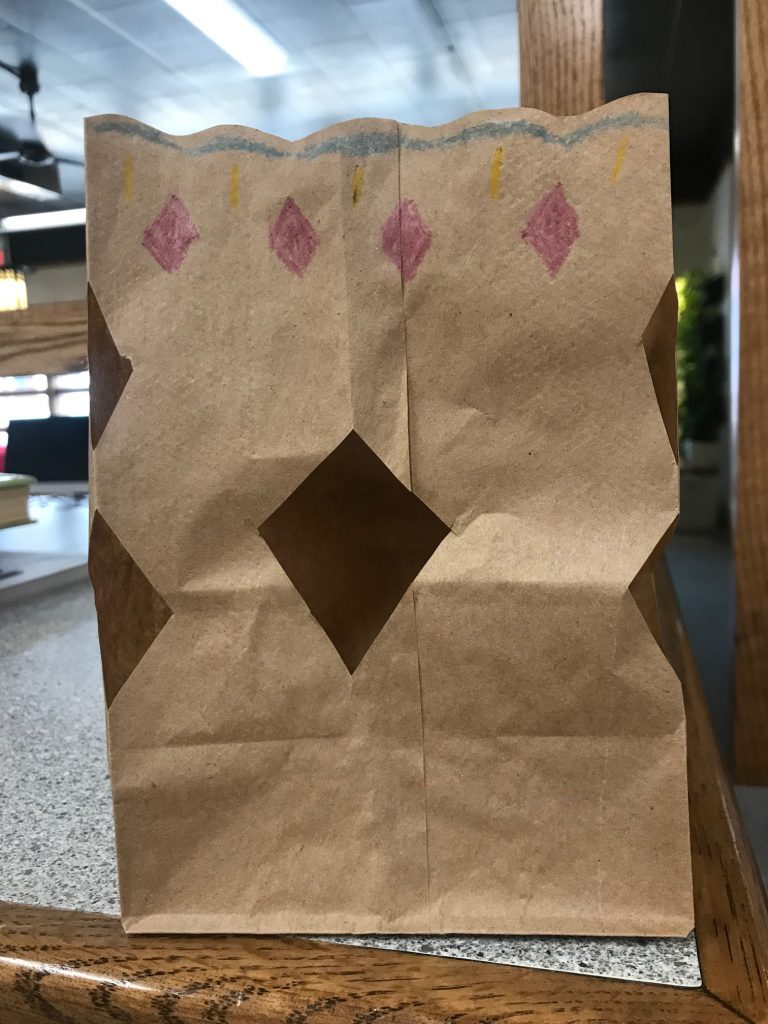
This take-n-make craft includes a paper bag and an LED tea light or coaster light. You will need scissors anything else you decide you would like to use to decorate your bag.
All you need to do is decorate your bag. Cut designs and holes into it let the light in. Cut edging across the top of the bag too, which will get rid of the folded/ stapled part.
If you have an LED tea light, just pull the tab and flip the switch on. Then place it inside your bag. If you have coaster light, pull the tab and the 3M sticker, then stick to the outside bottom of your bag. Press the button to light, and keep pressing for different light settings. Enjoy your luminary in the dark!
You will need a paper plate or a white sheet of cardstock cut into a circle, scissors, glue, crayons, and any other decorations.
First take your circle and cut where the lines show in the pictures below. Note, if you make them wavy, you will add texture to your llama. Save the two pieces you cut out. Make sure they are the same size. Trim the fringe off the edges. These will be your llama ears! Glue them behind the top of the paper plate. Next, you can use that leftover fringe to decorate the bottom of the plate for the neck detail. You can color it and glue it onto the llama. Then draw a face, and add any other decorations. We included extra paper to cut out shapes and add on!
This craft is available as the third and final take-n-make kit for adults participating in the Adult Summer Reading Challenge. (Ages 21- on up). Registration is required and that opens on Wednesday, July 21st. Once they are gone, they are gone! Register here: https://docs.google.com/forms/d/e/1FAIpQLSdI1gWE6ibn29To2MV-Q6CLJiDgtmuWSzOHWVz442dIhiyCfA/viewform?usp=sf_link or stop in at the library to register. For anyone else wanting to learn how to create a Tea Garden Topiary using their own materials, the instructions are as follows:
Items needed: (*asterisk denotes what is not included in the kit)
Floral foam
Moss ( We used dried preserved reindeer moss)
A tea cup and saucer and/or a mini clay pot
Foam balls (Sized in proportion to the teacup and clay pot)
*A stick/twig
*Glue gun + Sticks (If you need access to a glue gun, contact the library to check one out!
*Sharp cutting tool
*Newspaper or a garbage bag to keep your surface clean
Instructions
First you will lay something down on your workspace for easy cleanup. The moss and floral foam get really messy! Then take the floral foam and cut it to size to fit inside the teacup. Once that is secure, find a twig and stick that into the floral foam. For the teacup, you will then add the largest foam ball onto the end of the stick. Secure both ends of the stick with hot glue.
The same process will be used for the mini clay pot. (Note: some of the mini clay pots have an extra tiny foam ball fit inside of them. You may use that foam ball instead of the floral foam as the base if you wish. It doesn’t matter which you use, see which works best with fitting your stick in. If you do not have one, use the floral foam again. Then add the other foam ball to the other end of the stick. Secure with hot glue on both ends.
Next we will add the moss. It helps to lay the moss out and lightly tear it apart since it comes in larger clumps. Add hot glue to the foam ball in small sections, patting down moss on the glued areas. You can also cup the entire moss covered ball with your hand to pat it down evenly.
Then you will cover the foam base with moss. Check over the entire project, looking for bald spots and remove any visible glue strings. Your Tea Garden Topiary is ready to display!
For this craft, we have included several objects of different colors and textures. Just freeze the objects in water, and take outside for cool sensory play! Or, to prevent mess and stay inside where it is cool, you can put everything on a cookie sheet or tray to keep things organized.
There are several ways you can expand on this project to make it unique.
First is how you freeze the objects. You can put individual objects in water in ice cube trays, or freeze them all together in one giant cube.
You can also add your own objects to the mix. Have your kids create a story with the objects as you put them in. They get to be the hero and rescue them when it is time to melt them out!
You could mix baking soda in with the water (50/50) before freezing and then when you take it out, spray vinegar on the ice to fizz as it melts. This leads into the next way to mix it up; how you play! You can chip away at the ice, use a spoon of salt ( we included “magic” salt mixed with glitter) to see how it melts the ice, mix warm water with food coloring to drip or spoon onto it and create pretty colors. The sky is the limit on this one! Have fun and stay cool!
So if you are doing this craft on your own, you just need your objects to freeze, water, a container to freeze them in, a spoon and tray, salt, and any of the add-ons mentioned above!
You will need cardboard, paper, glue, scissors, and a penny for this project. Find a circle object to trace a circle on your paper and your cardboard and cut both circles out so they are the same size. Color your design on your paper circle. Then glue it onto the cardboard circle. Cut a small slice in the center for your penny, being careful not to cut too big of a hole. The penny is your spinner. Insert the penny and give the top a spin!